Home Lab Series - Building an Intel Xeon Server

I am starting a project to build a my own home server. I decided to do this so I can run ESXi and host mulitple virtual machines. After doing this I will be able to implement systems like pfSense, Splunk, and Elastic Search as learning projects.
This will be my first build, so let’s get started.
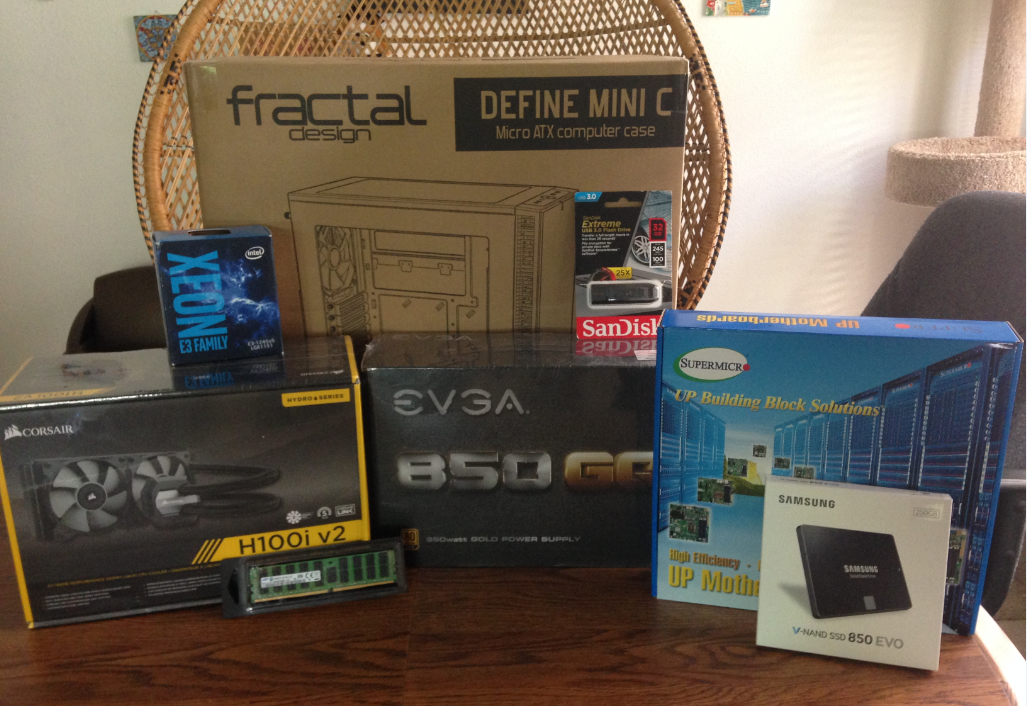
Hardware List
- CPU - Xeon Processor E3 1245 v5
- Mother Board - Supermicro Micro ATX X11SSH-LN4F-O
- Memory - Crucial 16GB Single 2133MT/s DDR4 PC4-17000 Dual Ranked x8 ECC DIMM (Unbuffered)
- Hard Drive - Samsung 850 EVO 250GB 2.5-Inch SATA III Internal SSD
- Coolant - Corsair Hydro Series H100i v2
- Power Supply - EVGA 850 GQ, 80+ GOLD 850W, Semi Modular
- Case - Fractal Design MicroATX Define Mini C
All together the hardware cost ~$1100. I went with a smaller amount of RAM and Hard Drive space because I can easily upgrade that in the future.
I chose to go with a Xeon Processor over something like an i7 because of the longevity under a heavy load, the support for ECC memory, and I could get 8MB of cache at a cheaper price point.
**Note - When using a server motherboard, like the one I have listed above, it is important to check the compatibility guide for RAM. I made the beginner mistake of originally buying fully-buffered RAM which does not work with most supermicro boards.
Some Resources for Picking Hardware
- Building Energy Efficient ESXi Home Lab - Great blog, lots of resources for building a ESXi box.
- Supermirco Motherboards - Look up specs and compatibility for Supermicro boards
- Intel Product Specification - Look up specs for Intel products
- Power Supply Calculator - Make sure your PSU can support build
- PCPartPicker - Find cheapest place to buy a specific part
- Friends and Co-Workers - The best way to get information is to ask questions
The blog at vladan.fr(Building Energy Efficient ESXi Home Lab) was an excellent starting place. I had very little knowledge to start with and it was a little overwhelming. The articles at vladan.fr helped me get started on the right path.
Let’s get started with the build. I apologize for the poor photo quality, taking photos was an after thought during the build process.
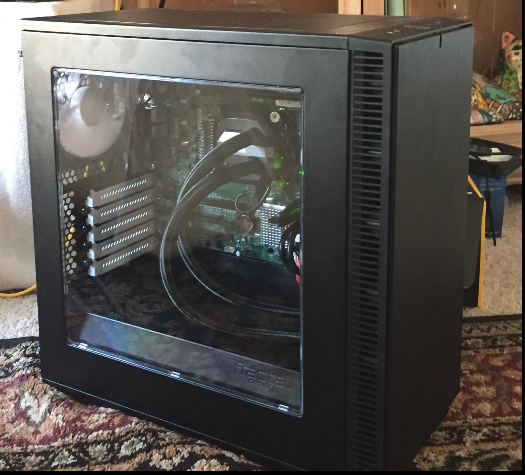
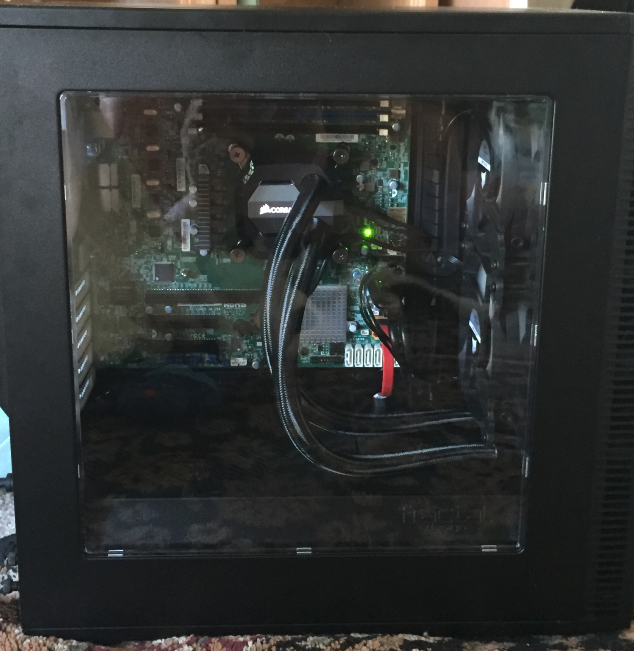
Finished Build (Idea of what we are aiming for)
Useful Videos to Help With Build
- Building a PC in the New Define Mini C from Fractal Design - Goes over some of the features in the Mini C box
- How to Build a PC with the Fractal Design DEFINE R4 Arctic White Window - For R4 box, not Mini C, but goes over some basics for any build
- How to Install the Hydro Series H100i GTX Liquid Cooler - Guide for installing the H100i cooler
These videos were basically all I used as reference. It is very helpful to watch them a couple times before starting.
Part 0 - Prepping the Case
Besides research, not much preperation was required. I opened each component’s package and inspected them for broken or missing parts. Nothing stood out as wrong so I moved on to prepping the case.
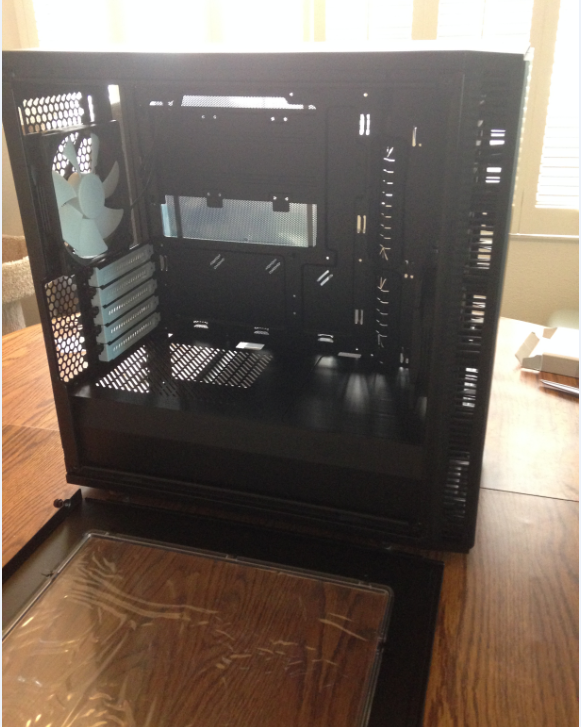
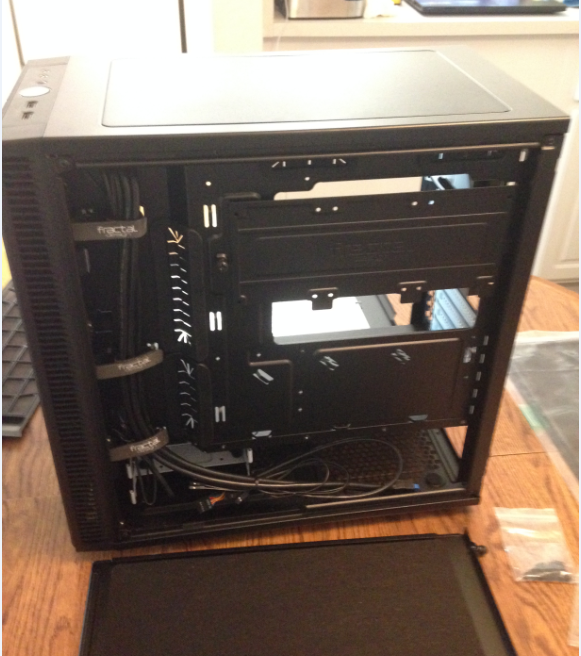
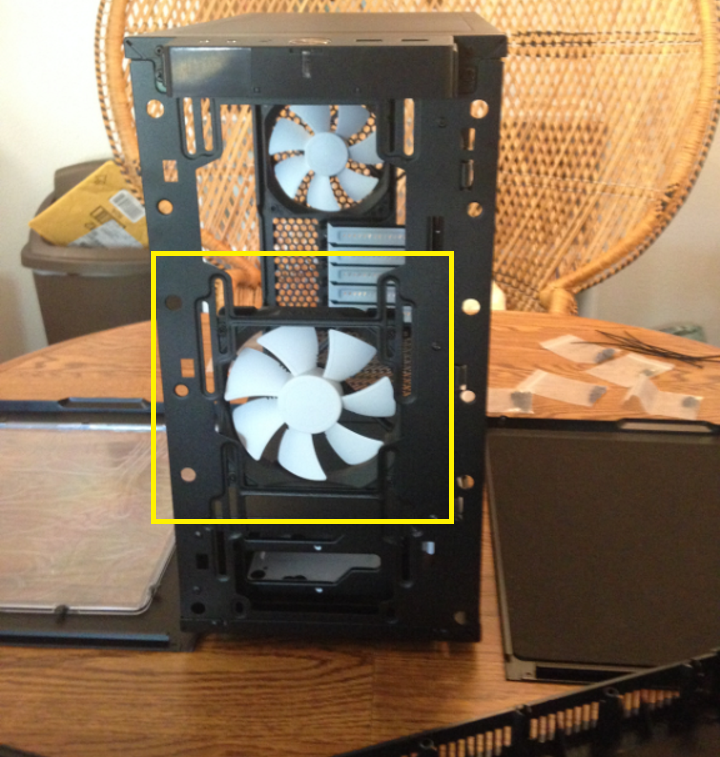
For the case, I only needed to do two things, place the motherboard standoffs and remove the front fan.
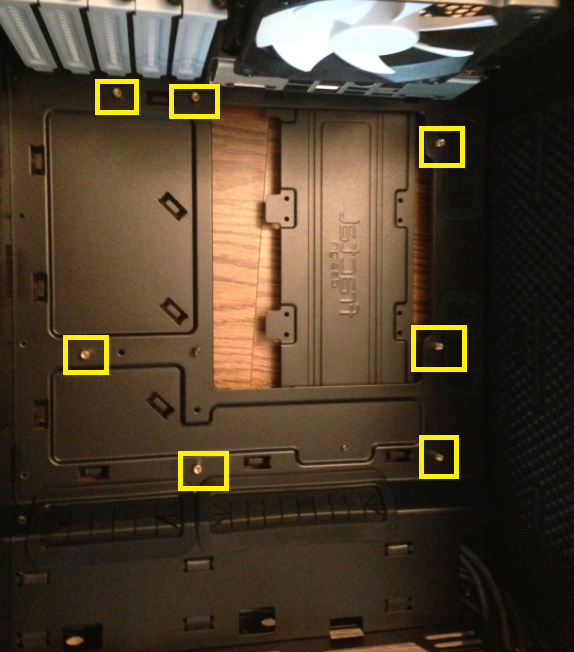
Part 1 - Installing CPU and Motherboard
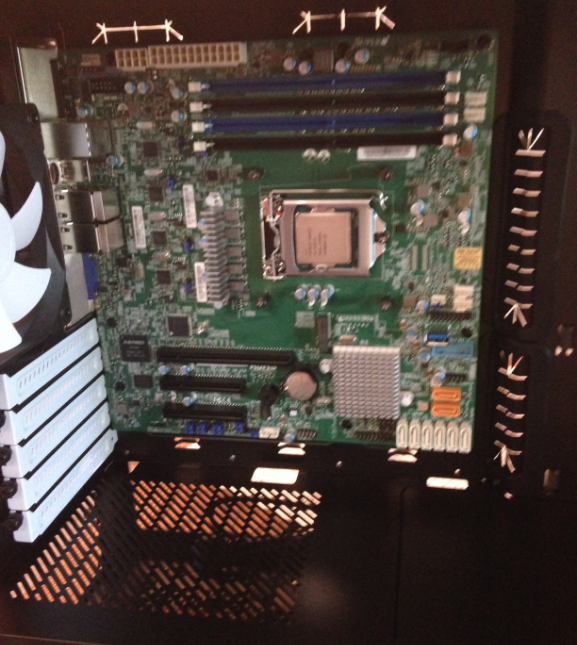
I decided that I wanted to start by installing the CPU and then place the motherboard in the case. The order for a lot of this is just personal preference.
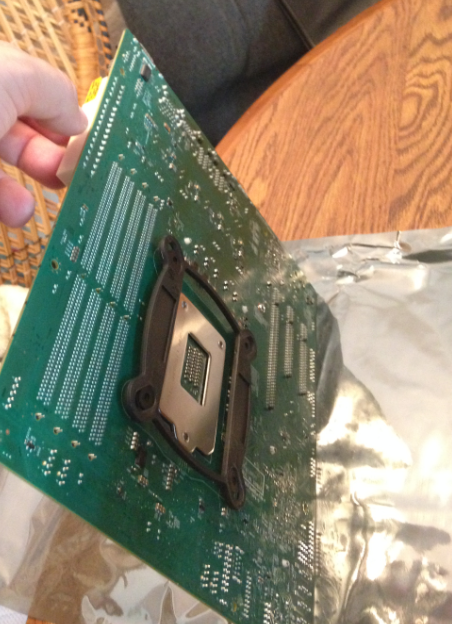
One thing to remember when using a Corsair liquid cooler, is to attach the back plate before placing the motherboard in the case. Follow the instructions provided with cooler and the link listed above.
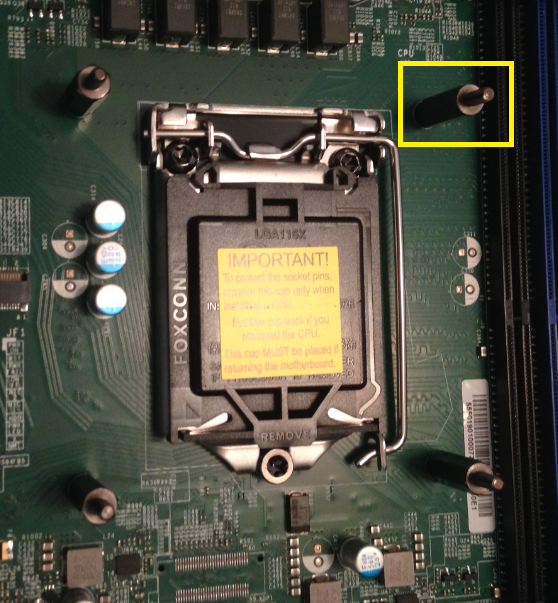
Make sure to use the right standoff screws for your CPU and Socket type. The Corsair H100i provides three different types of screws, two for Intel CPU(LGA 115x/1366 and LGA2011) and one for AMD CPU.

Next, I installed the CPU. This is pretty straight forward.
- Release the metal lever and CPU retention bracket
- Line up the notches and triangle
- Gently place CPU in socket
- Lower retention bracket
-
Relatch the metal lever to lock CPU in place
- Installation Processor Intel® Xeon® Processor - Video Guide
The standoffs are already in installed so we just place the motherboard inside and attach with the provided screws.
Part 2 - Installing Corsair H100i
We already have the back plate installed so the first step is to attach the fans to the radiator. It is important to have a plan for the airflow you want to achieve inside the case.
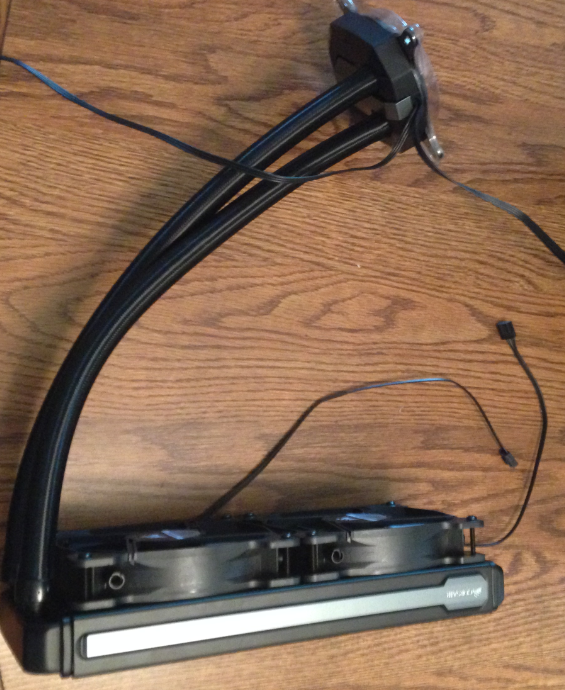
The Corsair fans have arrows pointing in the direction the fans will move air. I have attached mine to pull cool air through the radiator into the case at the front and push out air out at the back. Attaching the radiator to the case is just a matter of screwing it into place.
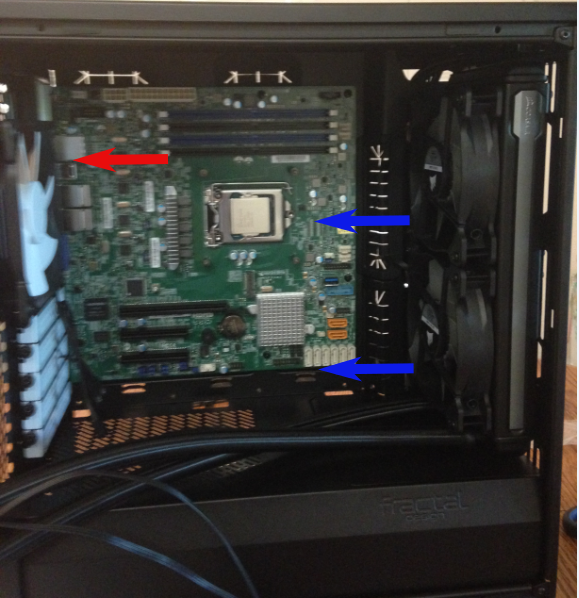
Now that the radiator and fans were attached to the case I needed to attach the cooling block to the CPU. This was 5 simple steps.
- Remove plastic cover on cooling block
- Place block onto standoffs
- Attach with provided screws - Hand tight was fine for my build
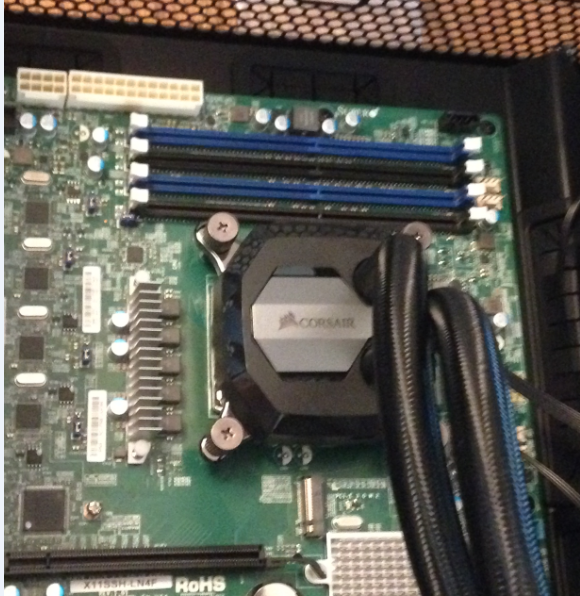
- Connect fan leads to cooling block and cooling block to the cpu fan header on motherboard
- (Optional) Connect mini-USB of data cable to cooling block and USB header of data cable to a 9 pin USB 2.0 header on mother board
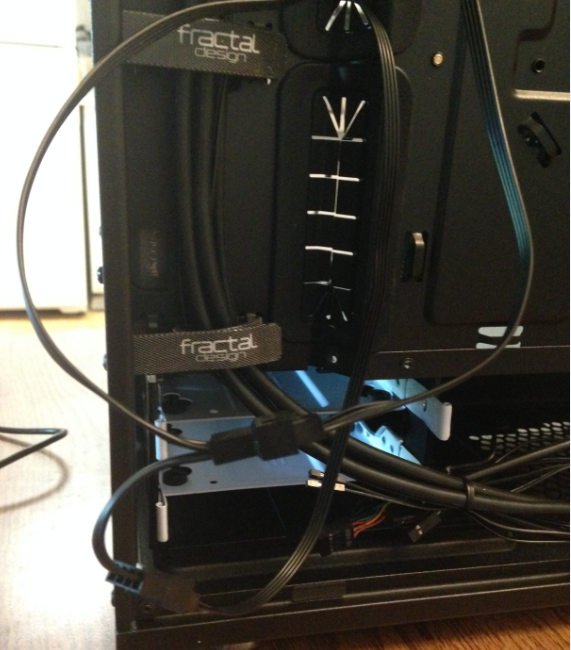
Refer to the “How to Install the Hydro Series H100i GTX Liquid Cooler” page for more detailed instructions.
Part 3 - Attaching the Solid State Drive
This part was very easy. I just removed the backplate behind the motherboard, attached the SSD with the screws provided with the case, and then re-attached the backplate.
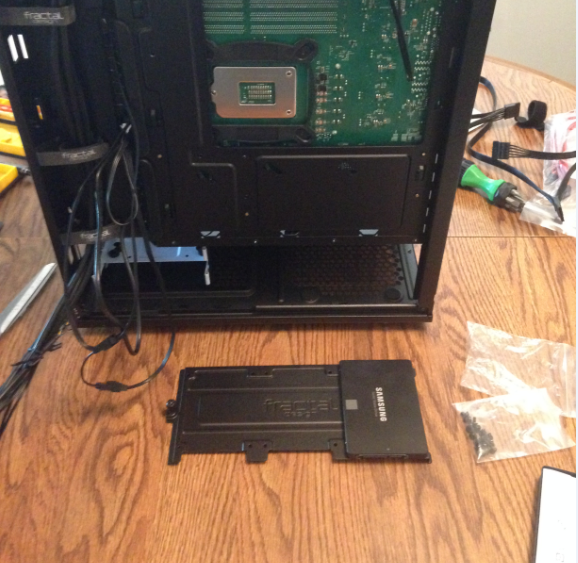
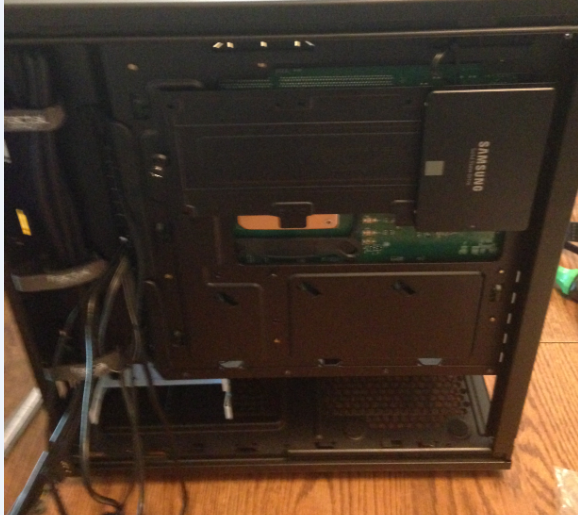
The backplate has three spots for SSDs. Since I am only installing one, I decided to place it as far away from the CPU as possible. I do not think it is significant where the SSD goes.
Part 4 - Connecting the Power Supply Unit
Since I used a semi-modular PSU, I first needed to attach any necessary cables.
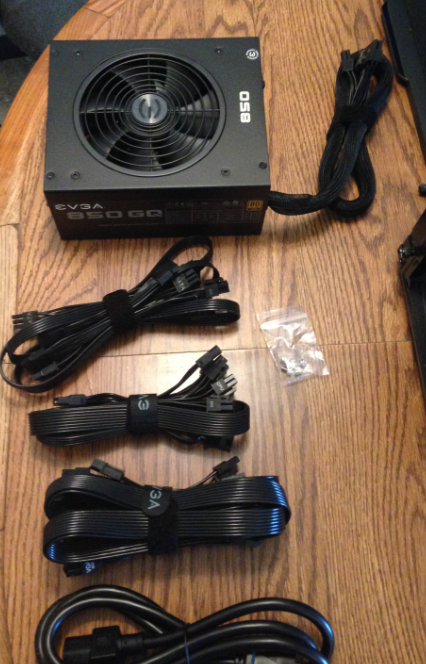
The CPU cable had 3 heads to make 1 8 pin lead. Each head had notches to make it easy to properly arrange them when inserting. I had a very simple build with one SSD and no GPUs so all I needed to attach was one SATA cable.
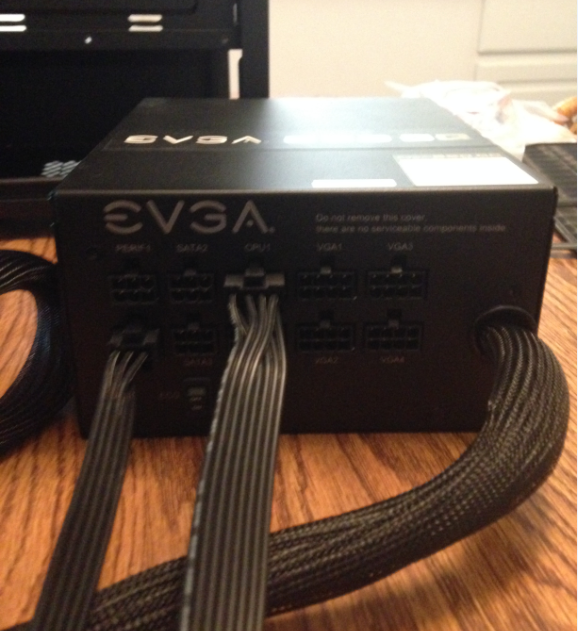
To place the PSU in the case, remove the power suppy bracket at the bottom/rear of the case, attach to it to the PSU with the screws that came with the PSU, slide the PSU inside the case (for this build, fan down) and re-attach the bracket.

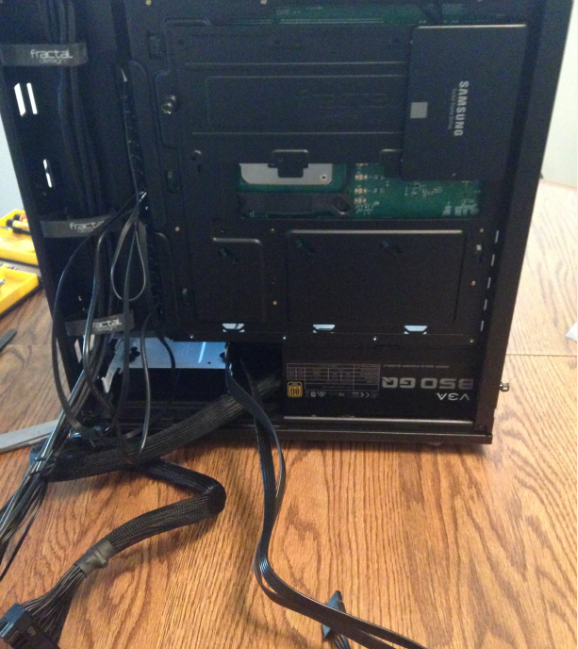
The final step is to connect all the power cables to their respective components. This is when I also attached all leads from the front panel and other components, like fans. Use the diagram provided with the motherboard to determine where the appropriate headers are. In my excitement I forgot to take document this part, I might update with more detailed notes later.
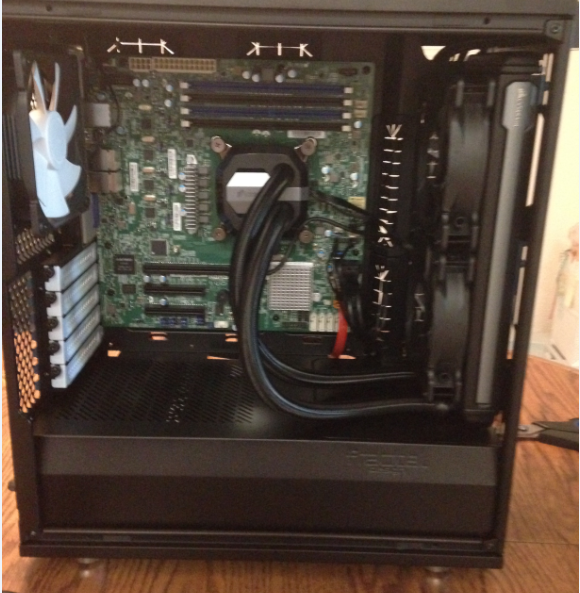
Finally, you should organize the cables. For this I used, electrical tape and zip ties but not much work was needed for such a simple build.
Part 5 - Installing the Memory
Installing memory just requires placing the RAM into the approriate slot.
- Pop the plastic clips open
- Orient the RAM to line up with the notches
- Place the RAM in the slot and push down until the platic clips snap closed
Thats it. If you are using 2 slots, make sure to place the RAM in slots with matching colors. Some CPUs can be picky about which slots it checks first for memory. If the CPU is having trouble registering the memory, try each of the slots. Also check the compatibility list.
Part 6 - Turning it on
Plug the newly built server into an outlet, start the ignition, and enjoy your new awesome server.
My next step is to get ESXi up in running, check out my other related posts.